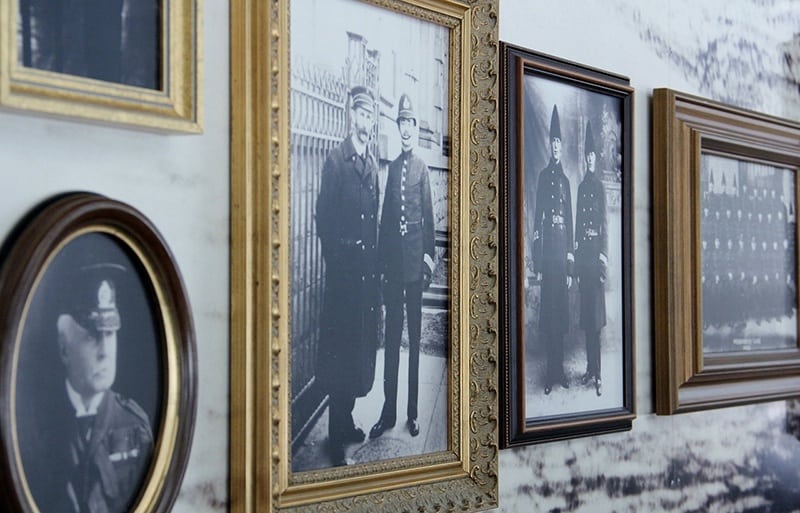
Don’t feel bad if you do not know how to hang a picture or a wall ornament. Not everyone can hang a picture and there are several ways to do it. The key is not to place more holes in your wall than you need. This tutorial will show you the way to hang your photos and other works of art.
First Step
The first thing you need to do is buy a good stud finder. These handy little battery operated tools will help you find the right stud. Since these studs are covered in drywall you need a good stud finder to help you find where the carpenter placed them.
Second Step
Determine how you want to hang your picture. Is it with a nail, screw or with wire. The first two are easy as all you need to do is find the stud, place the nail or screw into the stud and simply hang your picture. Using wire is a little more difficult.
- Hold the frame and the wire so that the wire is tight. The wire should come no more than a few inches from the top of the frame.
- Take your tape measure and measure from the top of the frame to the top of the wire.
- Hold the painting up to the point you want to hang it and make a light pencil mark on the wall and put the painting on the floor.
- Measure from the mark on the wall the exact distance you found when you measured from the top of the painting to the top of the wire and make another mark.
- You can use a nail or a screw here but we recommend you use a regular picture hanger device. The bottom of this hanger goes on your second mark. This means that the nail is above the second mark. Once you have this positioned in the correct spot, just nail it into the stud. Tap lightly there is no need to use force. If you use too much force you may have to repair a new hole in your wall.
- Once the hanger is in place simply place your painting or photo on the hanger and you are done. That is for hanging a picture with wire.
See this video...
Step Three
How to hang a painting or picture that has two hooks.
- Measure the distance between the two hooks
- Find the first nail position and measure out the distance and make a second mark on the wall
- Drill holes for anchors- you will need anchors as at least one nail will not be in a stud
- Insert anchors into the holes (these do not have to be very large, just big enough to handle the size of nail you are using
- Nail in both frame hangers
- Hang your picture
Again this is not hard to do, just be careful not to hit the nails too hard, you do not want to cause any damage to the drywall or your fingers (if you miss the nail).
Materials Needed
- Pictures
- Nails and hangers
- Drill
- Anchors
- Hammer
- Tape measure
- A good stud finder
Step Four
What is the best height to hang a picture?

There are different opinions as to how high you should hang your paintings and photos but the standard is usually 60 inches to 66 inches from the floor. Some people like to say that you hang them at eye level but when there is a disparity of height between spouses and also guests this is not a good idea.
Of course, this rule of thumb is not a one size fits all standard. A lot depends upon the size of the wall ornament, painting, photo or mirror that you want to hang on the wall. For the mirror, it is best to hang it so all people can use it easily and without a lot of effort or stooping.
The best thing to do is make sure you are happy and comfortable with the height you hang your photos at.
A Few Words
Hanging pictures does not have to be the traumatic event in your household life. It can be made simple by following these easy instructions on how to hang a picture. The simplest way to hang a picture is to drive a nail or screw into the will and place the photo on it but there is no guarantee that the drywall will hold the nail.
We recommend that you hang your pictures up the right way the first time. Doing it right the first time will save you time, money and a lot of headaches. Take the time to find a good stud finder and use it to find the studs in your walls so your valuable possessions will be enjoyed for years to come.
We hope you enjoyed this tutorial and please share it with your friends. Also, let us know your opinion by placing a comment in the comment section below. We would love to hear some feedback from you.